Route: Baad → Bärgunthütte → Hochalppass → Widderstein summit → Widderstein Hütte → Gemstelpass → Gemstelalpen → Gemstelboden → Baad (loop)
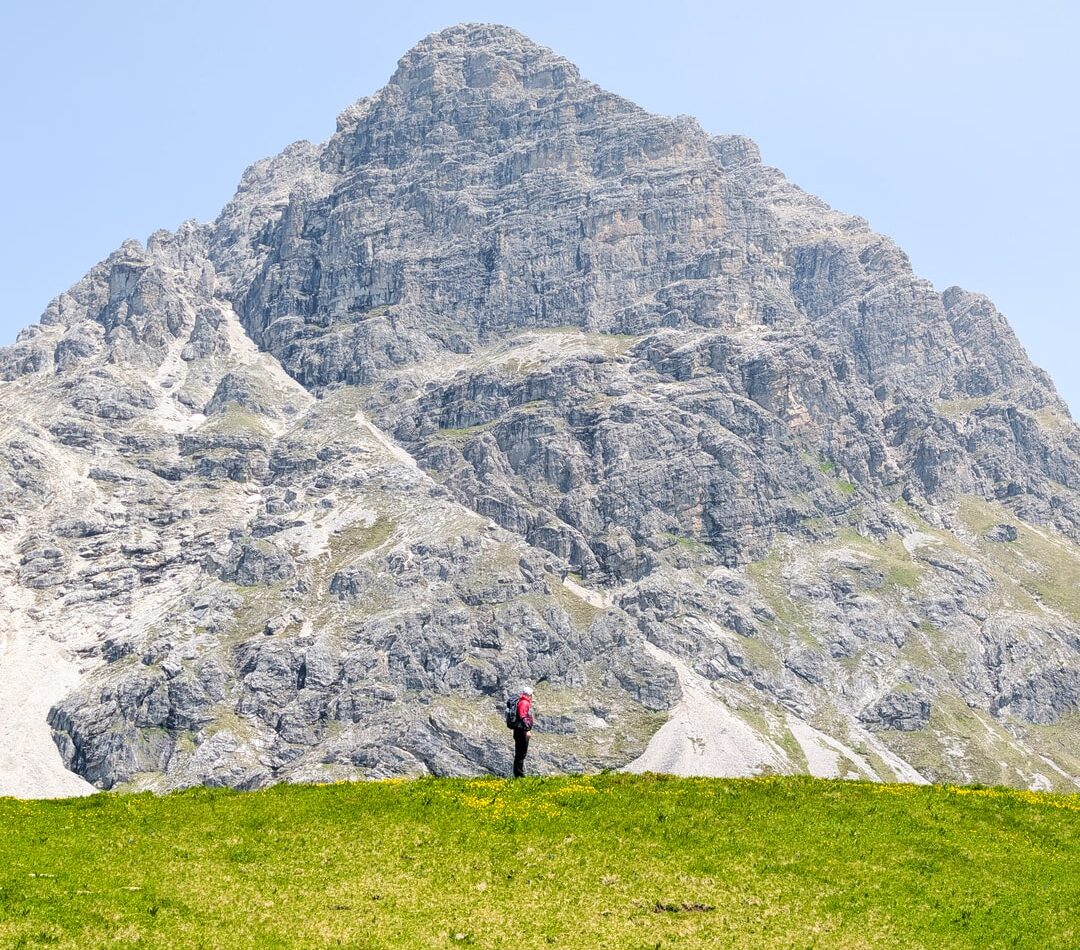
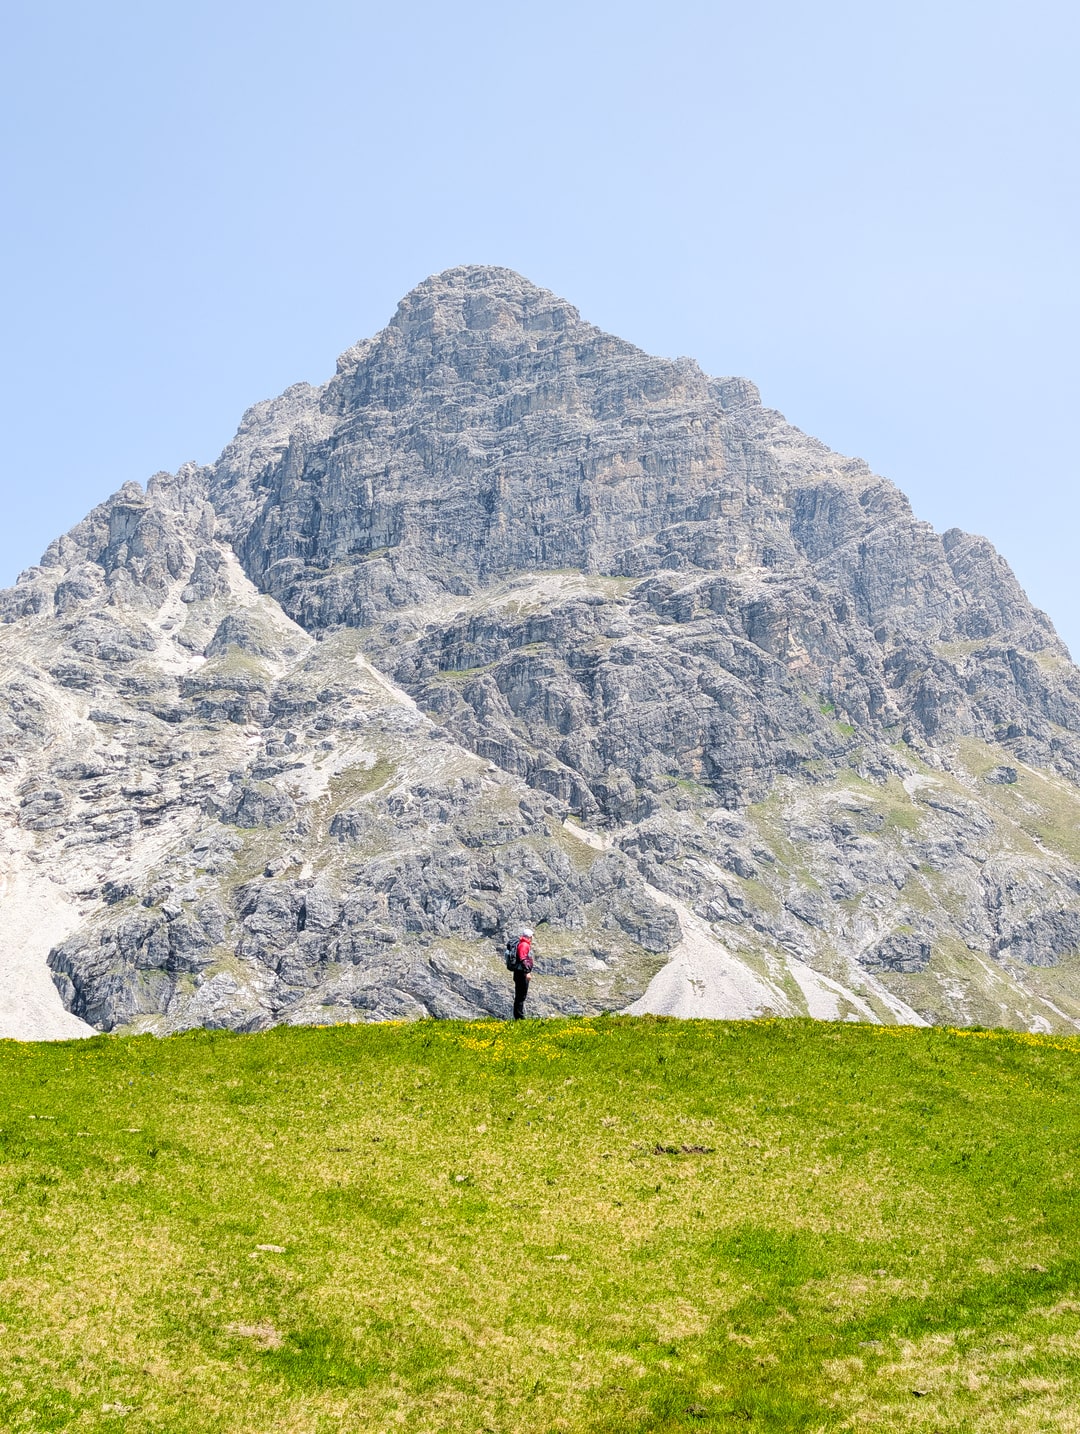
The Widderstein dominates Kleinwalsertal like a ship’s prow — steep walls, broken gullies, and ridges that drink the wind. The classic day out is a full circumnavigation with a summit spur: a long, satisfying mountain day with real hands-on moments near the top and easy hut stops below.
Approach: Baad → Bärgunthütte → Hochalppass
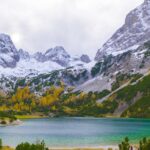
From Baad (1,220 m) the path rises gently along the Bärguntbach to Bärgunthütte (1,408 m) — meadows, water, and the massif building to your left. Beyond the hut the trail narrows, the stone gets sharper, and the Kleiner & Großer Widderstein stack into view. A final push over the Hochalppass (~2,000 m) opens big northern and southern panoramas; on clear days you’ll spot Hoher Ifen and the tiny Hochalpsee cupped below the saddle.
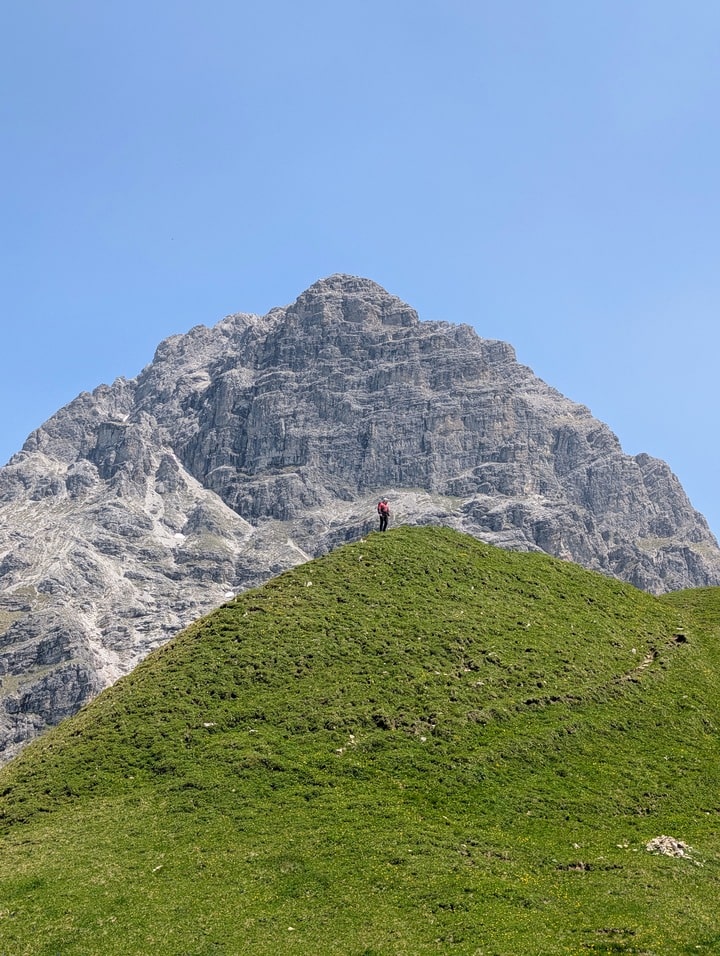
Summit Spur: “Red turns alpine”
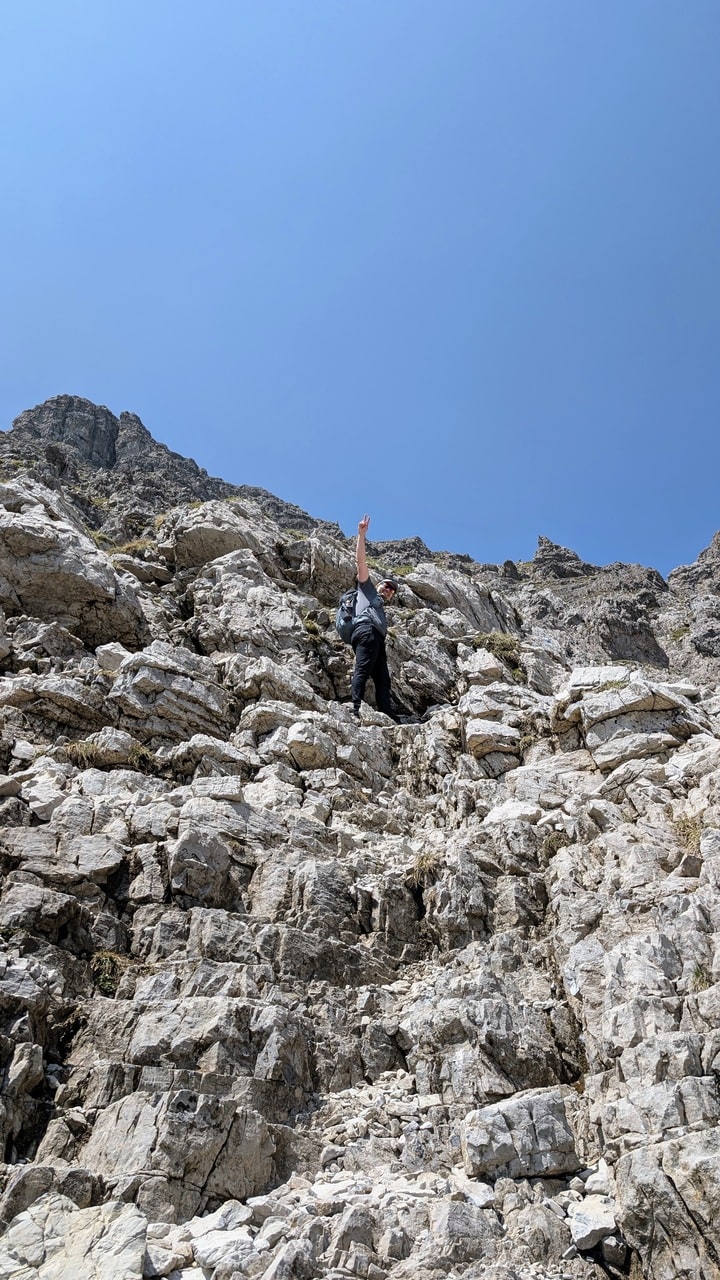
At a signed junction, the summit path leaves the traverse and heads into a rubble gully. This is where the day changes character:
-
Terrain: steep trail, loose scree, easy scrambling; short sections need hands.
-
Objective hazard: rockfall in the gully; helmet recommended.
-
Skills: sure-footed, comfortable with exposure.
The summit ridge appears suddenly; the cross at 2,533 m sits over a 360° pageant — Nebelhorn, Hochvogel, Mädelegabel NE; Biberkopf E; Schesaplana SW; a pick-and-mix of Allgäu and Lechtal giants in every direction.
Descend the same spur back to the circumnavigation line.
Traverse Out: Widderstein Hütte → Gemstelpass → Gemstelalpen → Baad
Drop to Widderstein Hütte (2,009 m) for a late bowl or a wheat beer with the north face in full view. The path then rolls to Gemstelpass (1,972 m) and down the Gemstel valley: Obere/Hintere Gemstelalpe and Bernhard’s Gemstelalpe dot the descent. At Gemstelboden pick the promenade back along the Breitach to Baad. It’s civilised, scenic, and kind on tired knees.
Trail Data
| Metric | Value |
|---|---|
| Distance | 16.12 km (loop) |
| Elevation gain / loss | 1,375 m / 1,375 m |
| Max / Min elevation | 2,528 m / 1,217 m |
| Difficulty | Moderate–Hard (red hiking + short exposed summit spur) |
| Moving time (Naismith) | ~6.3 h (16.12/4 + 1,375/600) |
| Realistic day | 8–9 h with breaks, photos, summit spur congestion |
| Gear flag | Helmet advisable for summit gully; poles useful on descent |
Access & Start
-
Trailhead: Baad (Kleinwalsertal, AUT). Paid hiker parking.
-
By car: B19 via Sonthofen → Oberstdorf → Kleinwalsertal → Baad.
-
Public transport: Train to Oberstdorf → Walserbus to Baad (frequent in season).
Season & Conditions
-
Best: June–October; early summer can hold residual snow in gullies.
-
After rain: summit gully is loose + greasy; rockfall risk increases.
-
Heat: long day, little shade — carry water; refill at huts/alps.
Safety Notes (no drama, just true)
-
Helmet on the summit spur (rockfall from parties above).
-
Sure-footedness essential; short hands-on moves, light exposure.
-
Turn-around rule: if the gully queues or you’re uncomfortable, skip the top; the loop alone is an excellent day.
-
Weather window: this loop is long — avoid marginal forecasts.
Waypoints (logical anchors)
-
Baad, P P1 → Bärgunthütte → Hochalppass → Summit spur jct. → Großer Widderstein 2,533 m → back to spur jct. → Widderstein Hütte → Gemstelpass → Gemstelalpen → Gemstelboden → Baad.
Huts & Refill
-
Bärgunthütte (1,408 m) — early stop, water, simple food.
-
Widderstein Hütte (2,009 m) — full kitchen, best views.
-
Gemstelalpen — seasonal dairy stops in descent.
What I’d Pack
-
Helmet, light shell, sun protection, 2 L water, poles, small first-aid, map/app with offline tiles.
-
Shoes: proper mountain shoes (grippy sole; avoid lifestyle sneakers).
Last modified: October 17, 2025