You finally did it — you planned your first real hike, laced up your boots, and headed into the mountains. And somewhere between the trailhead and the summit, you wanted to capture what you were seeing. But the photos on your phone looked flat, blown out, or just… wrong.
It happens to everyone. The good news? You don’t need expensive gear or photography experience to come back with stunning trail photos. You just need a few simple habits.
1. The Best Light Is Early and Late
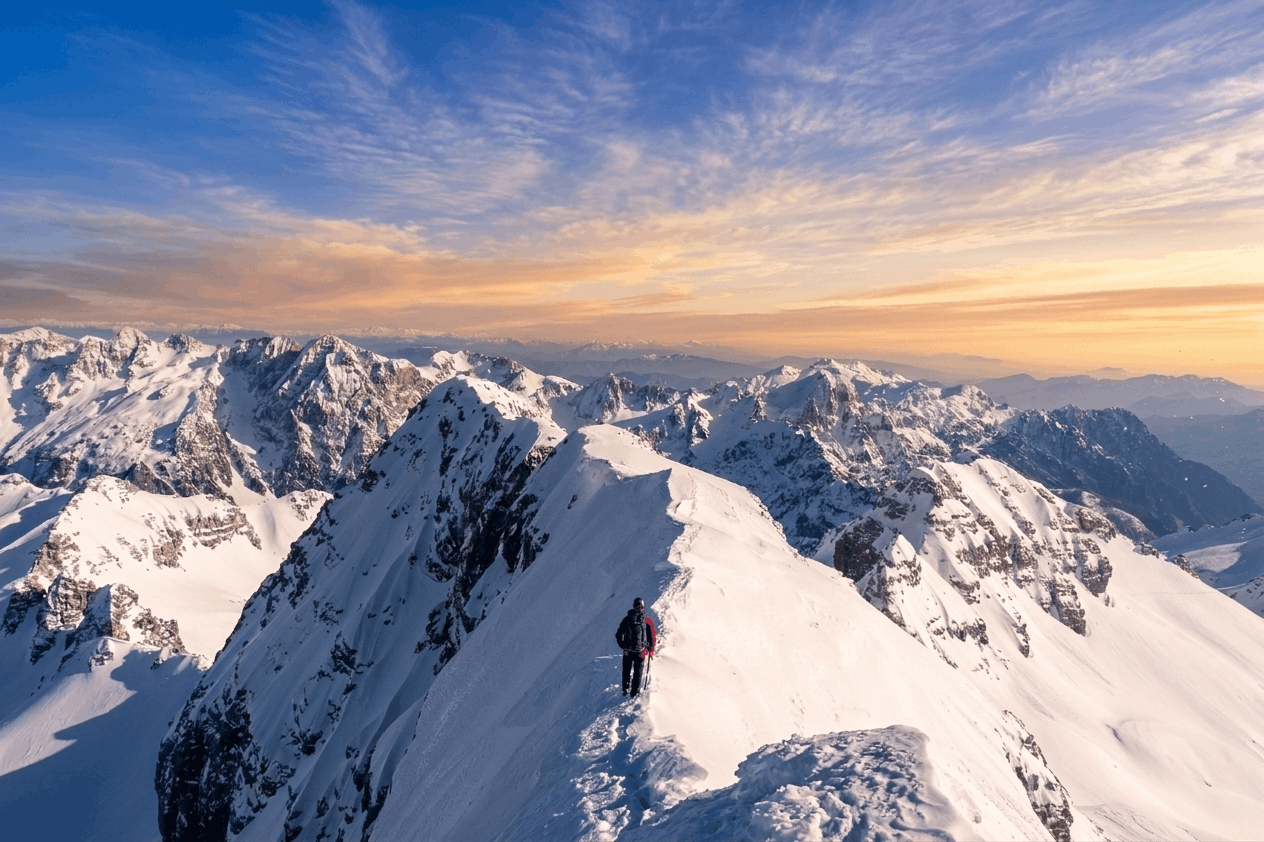
If you want one rule to remember, it’s this: shoot during the golden hour — the first hour after sunrise and the last hour before sunset.
At midday, the sun sits directly overhead, creating harsh shadows and blown-out skies. In the early morning or late afternoon, the light turns warm and golden, wrapping landscapes in a glow that makes everything look more dramatic. Mountains, lakes, forests — they all transform in that light.
Planning hikes like the Schliersee to Tegernsee route in Bavaria, or trails around Walchensee, becomes even more rewarding when you time your summit arrival for sunrise or position yourself near a lake just before dusk.
2. Your Smartphone Is Enough (For Now)
Don’t wait until you have a “real camera” to start shooting. Modern smartphones are remarkably capable in outdoor settings. A few things that actually make a difference:
- Clean your lens before you start — a smudge will ruin an otherwise perfect shot
- Tap to focus on what matters most in the frame (a peak, a waterfall, a person)
- Lock exposure by holding your finger on the screen — this prevents the camera from auto-adjusting as clouds move
- Shoot in portrait mode for close-up subjects like flowers or trail signs; switch to wide mode for landscapes
If you’re already using a mirrorless or DSLR camera, start with aperture priority mode (A or Av) and let the camera handle the rest while you focus on composition.
3. Find a Foreground
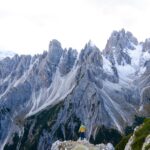
One of the most common mistakes beginners make is pointing the camera directly at a mountain or view and shooting. The result looks flat — because there’s no depth.
The fix: add a foreground element. A river, a rocky path, a lone tree, a patch of wildflowers — anything in the near field gives the eye somewhere to start before traveling toward the horizon. It creates the illusion of depth and draws the viewer into the scene.
On trails like those through the Albanian Alps or Kosovo’s Sharr Mountains, you’re constantly surrounded by natural foreground options: streams, boulders, alpine grass. Use them.
4. Turn Around (Seriously)
Most hikers photograph what’s in front of them. But some of the best shots are behind you.
The direction you came from — especially during descent — often shows a completely different perspective of the landscape, with the trail winding away into the valley below. Turn around every 15–20 minutes and see what you’ve been walking away from.
5. Capture the Journey, Not Just the Summit
Beginners often hold off on shooting until they reach the top. Don’t. The hike itself is the story — the mist in the trees at 7am, the scramble over a rocky ridge, the moment you first spot the lake below.
A mix of wide landscape shots and closer detail shots (boot on a rock, hand on a trail marker, wildflowers by the path) gives you a fuller picture of the day when you look back at the photos later.
One Last Thing
The best trail photographers aren’t the ones with the best gear — they’re the ones who slow down and actually look at what’s around them. Next time you’re on the trail, take 10 seconds before raising your camera. Notice where the light is coming from, find your foreground, and then shoot.
You’ll be surprised what you come back with.
Have a trail shot you’re proud of? Share it with us — we’d love to see where your adventures are taking you.
Last modified: March 10, 2026